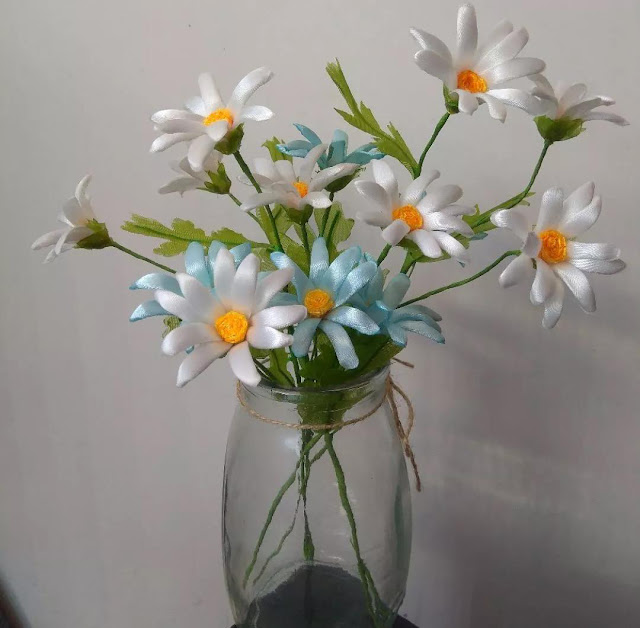
DIY handmade flowers tutorial
A small flower that is easy to use, very small and fresh
Tools and materials that need to be prepared:
Ribbon, green tape, iron wire, glue gun, scissors, lighter
Illustration of special production steps:
The cut petals are about 1 cm wide and 3 cm long
production step 2:
Flower heart, cut with scissors at the top, 1 cm wide and 4 cm long. Only 3.8 on hand, so fold it into three folds. If you fold a 1 cm ribbon, it will take 12 cm.
Production step 3:
The receptacle and the leaves The receptacle is about 3 cm in diameter. The leaves are about 5 cm long and 3 cm wide. Use a lighter to lift them off.
Production step 4:
First use a lighter to burn the top of the petals
Production step 5:
side
Production step 6:
When the petals are burned, the front side, the side side, and the back side
Production step 7:
The flower heart and the wire are rolled up tighter
Production step 8:
The petals are attached to the approximate position of the center of the flower
Production step 9:
It doesn’t need to be too neat to make the first layer of stickers
Production step 10:
Make the second layer and paste a flower about 10 to 15 petals, if you like it
Production step 11:
Cut the middle of the receptacle and insert the wire to stick it to the bottom of the flower, and apply a circle of glue on the bottom
Production step 12:
Wrap the flowers with green tape
Production step 13:
Add leaves and wrap other flowers to make a flower
Production step 14:
Finish
Production step 15:


Comments
Post a Comment